


USER MANUAL
Wallets & Add-ons
Tech & Travel
Wallets & Add-ons
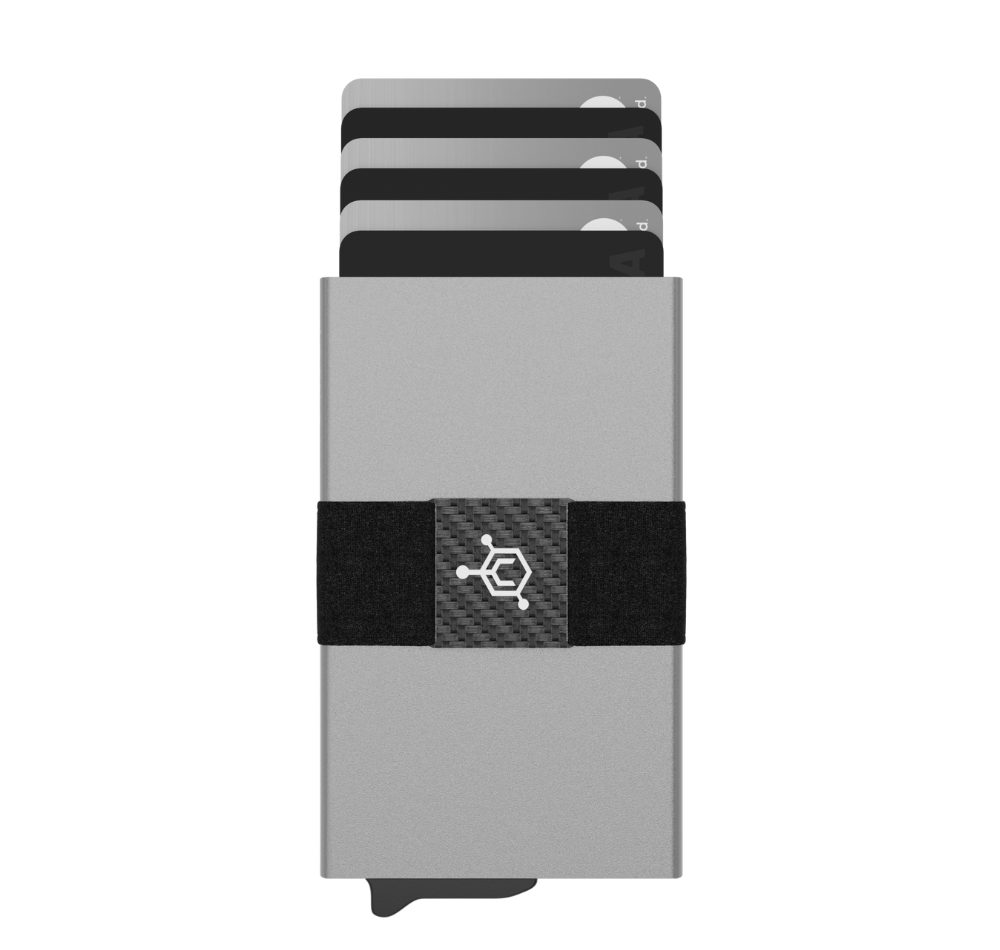
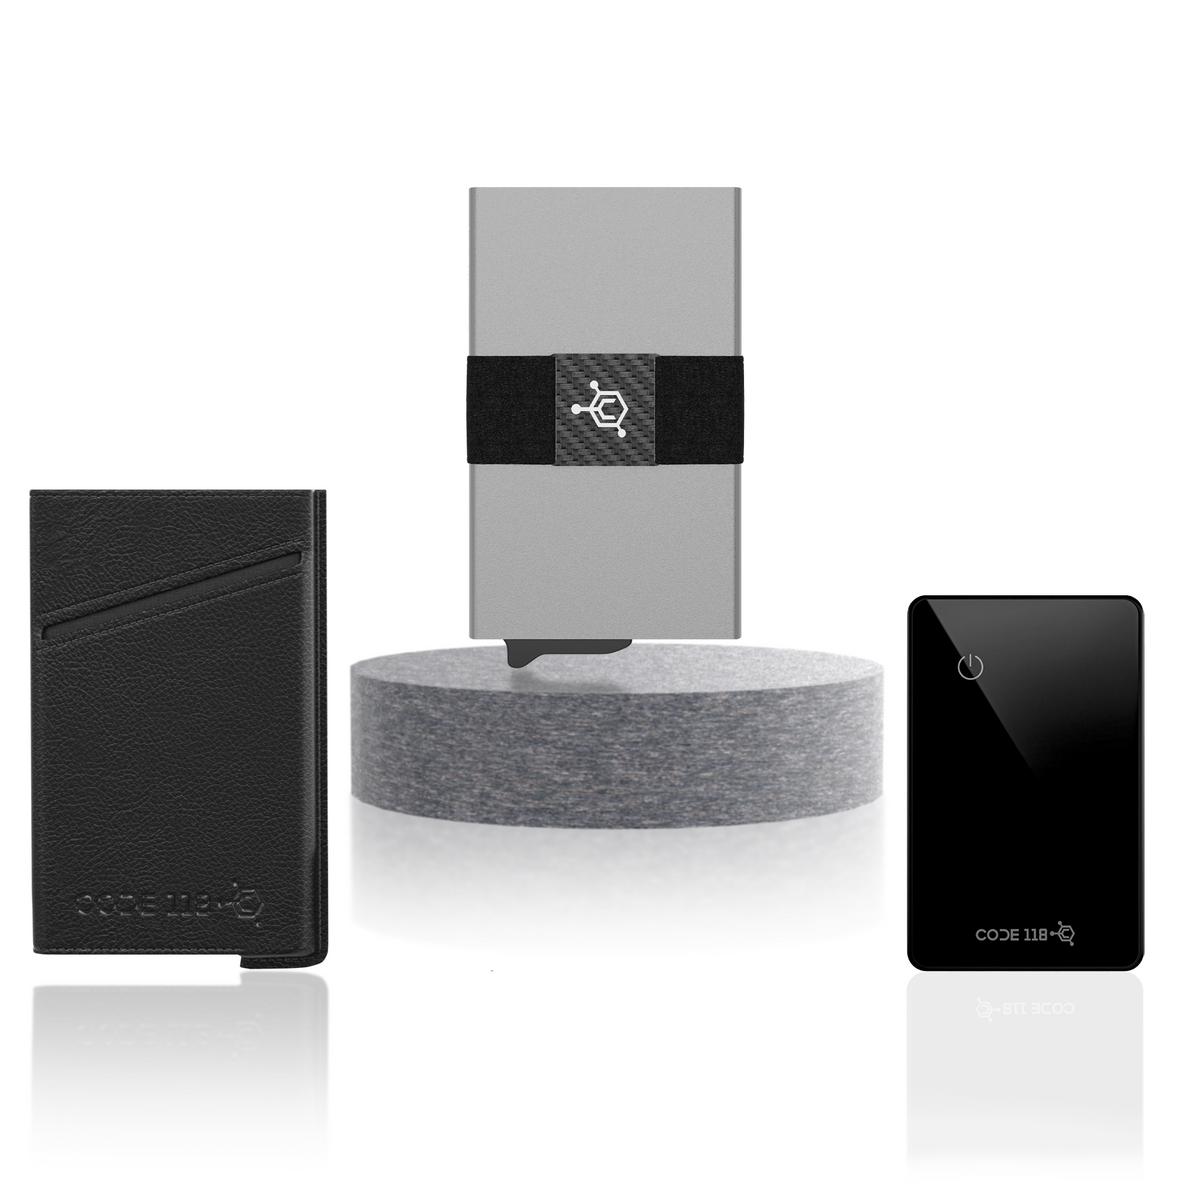
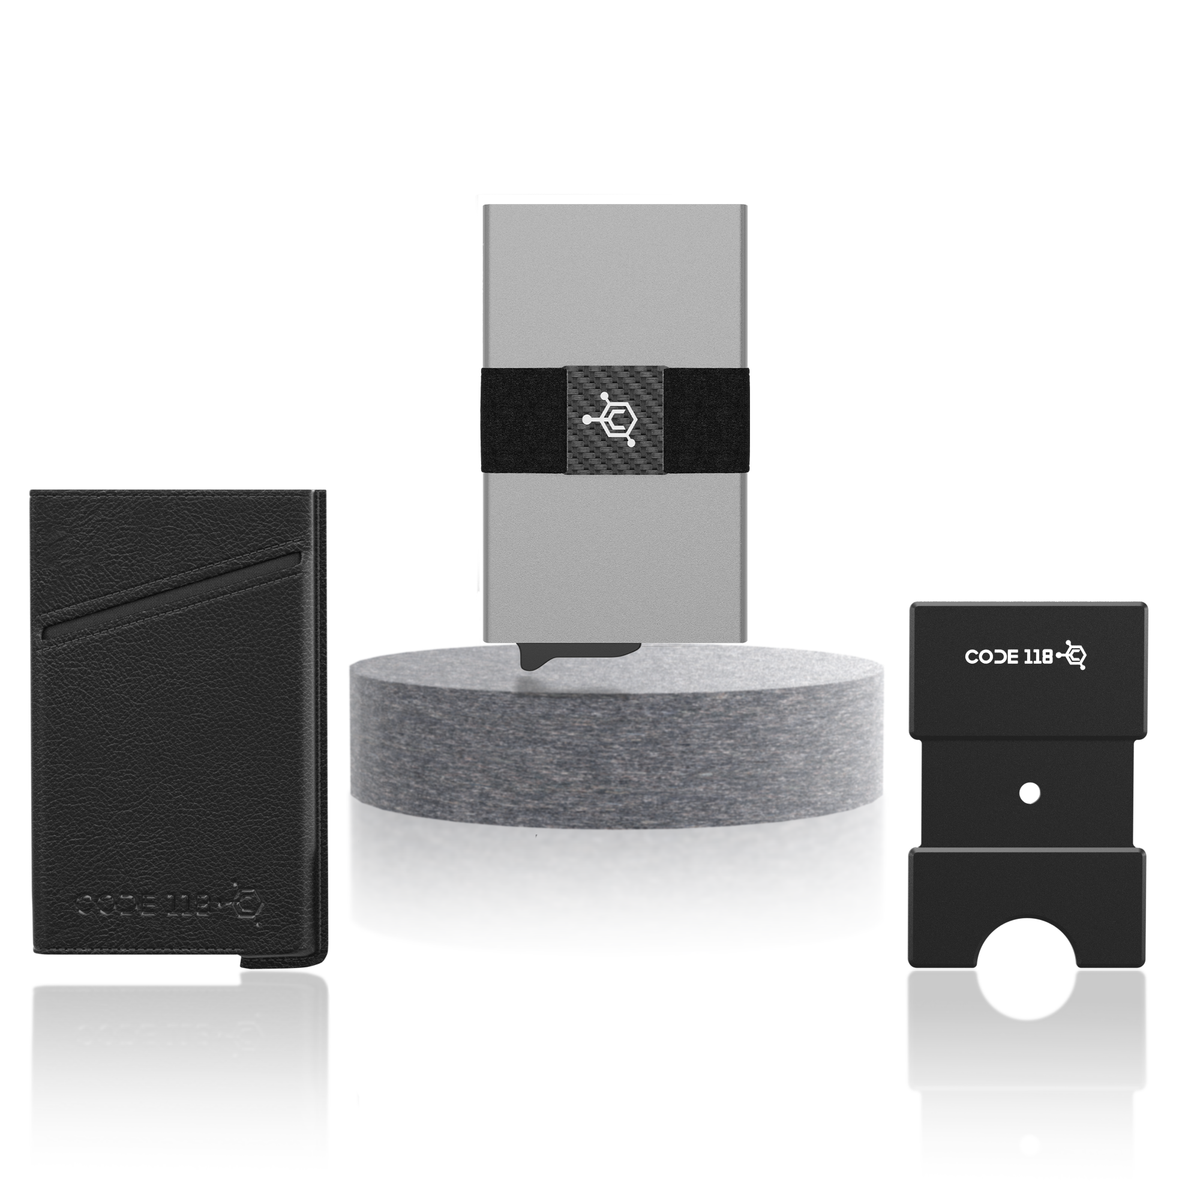
CODE 118 WALLET
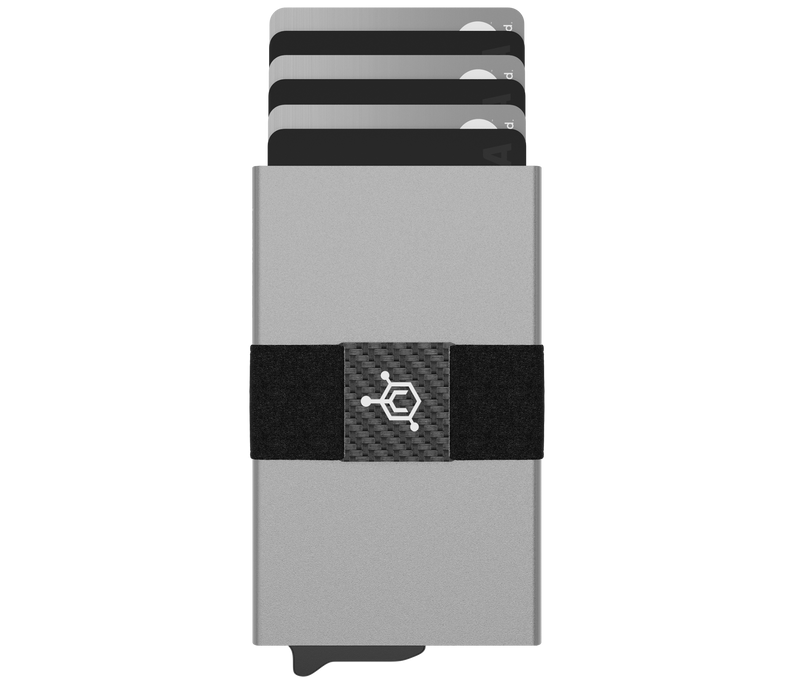
- Pick out 1-7 cards that you use the most. (Or 5-6 if you have embossed cards, which are thicker than normal flat cards.)
- Insert those cards into the wallet. (You might be searching for the area to insert your cards, but don’t worry! It’s the opening on top of the wallet. Simply slide your cards inside and you're good to go.)
- Depending on how many of your cards are embossed, you’ll be able to fit five to seven inside the main chamber. Then, simply slide the trigger to eject your cards instantly. (Pro Tip: If you are using embossed cards, alternate the raised numbers so they are not all on one side.)
- Next up is the cash strap. Pick up to 3 cards or 1-5 bills, and slide them under the streamlined carbon fiber cash strap. (The strap has hundreds of silicon micro-dots built into it to firmly grip your cash and cards and prevent slippage.)
- You're all set! You're now free to fidget with the trigger mechanism everywhere you go.
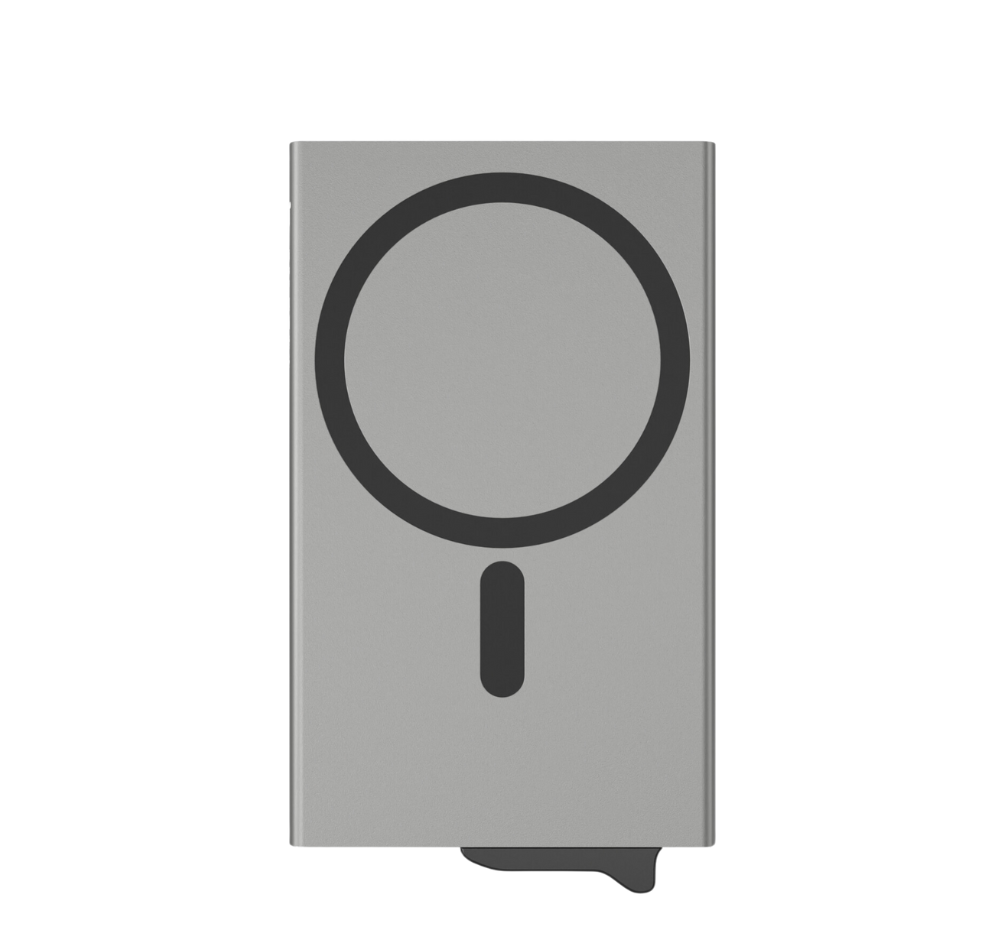
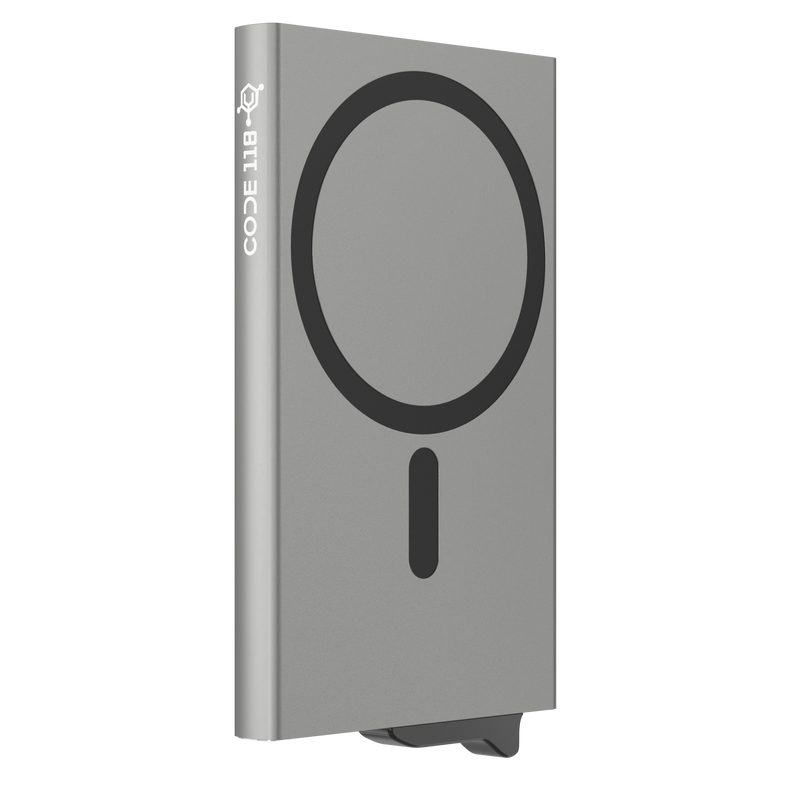
CODE 118 WALLET FOR MAGSAFE
- Pick out 1-7 cards that you use the most. (Or 5-6 if you have embossed cards, which are thicker than normal flat cards.)
- Insert those cards into the wallet. (You might be searching for the area to insert your cards, but don't worry! It's the opening on top of the wallet. Simply slide your cards inside and you're good to go.)
- Depending on how many of your cards are embossed, you'll be able to fit five to seven inside the main chamber. Then, simply slide the trigger to eject your cards instantly. (Pro Tip: If you are using embossed cards, alternate the raised numbers so they are not all on one side.)
- To attach the wallet to your iPhone, simply remove the cash strap and snap the wallet onto the back of your iPhone using the built-in MagSafe magnet. (We include the cash strap complimentarily in case you ever want to carry the wallet on its own like our standard CODE 118 Wallet, without attaching it to your iPhone.)
- Optional — Not using the MagSafe feature? Pick up to 3 cards or 1-5 bills, and slide them under the streamlined carbon fiber cash strap. (The strap has hundreds of silicon micro-dots built into it to firmly grip your cash and cards and prevent slippage.)
- You're all set! You're now free to fidget with the trigger mechanism everywhere you go.
TRACKER CARD
iPhone Set-Up

1. Unbox and Turn on your Tracker Card
Press and hold the power button on the top left for 5 seconds. The device will beep and turn on.
2. Pair the device
- Open the Find My app on your iPhone
- Hold the device next to your iPhone, tap the items tab, tap + and then "Add Other Item" (Note: If you already have a find my device connected to your iPhone, click "other supported item")
- After your Tracker Card is found by your phone, tap connect
- Type a name for your device and select an emoji
- Tap agree to acknowledge that this item will be linked to your Apple ID
- Tap Finish
That's it, you are good to go! You can now track your wallet anywhere with your iPhone.
Note: In the event that your Tracker Card shows an error or "could not continue" screen, this is an iOS error that will be resolved with the full release of iOS 17. For now, you can simply resolve this issue by performing a factory reset of the card.
The factory reset process for Tracker Card is as follows:
Factory Reset:
1. Remove the Tracker Card from Apple Find My
Before proceeding with any steps of the factory reset, the Tracker Card must be deleted from your Apple Find My profile in order to be put back into pairing mode.
2. Double click the power button
After double clicking the power button, the device will beep.
3. Press the power button for 8 seconds
Long press the power button for eight seconds until the device beeps again and the light flashes three times. Release the button to complete the factory reset.
4. Double click the power button
Double click the power button and your device will turn on as a brand new device. Then, follow the original instructions above to pair your Tracker Card to your iPhone again.
For best use, do not store the tracker card directly in the CODE 118 Wallet's automatic chamber.
TRACKER CARD
Android Set-Up
1. Download the Find Easy App
Click here to download our Find Easy App (Android only)
2. Unbox and Turn on your Tracker Card
Press and hold the power button on the top left for 5 seconds. The device will beep and turn on.
3. Pair the device
Click "Add Device"
4. Wait for the device to appear
Wait for the "Find Easy" device to appear on the screen. Once you see it appear, click "Find Easy".
5. Wait a moment
Wait a moment for the device to finish connecting.
6. Click "Wallet"
Click "Wallet" from the list of categories that are shown.
7. Click "Done"
Click "Done" at the top right corner.
For best use, do not store the tracker card directly in the CODE 118 Wallet's automatic chamber.
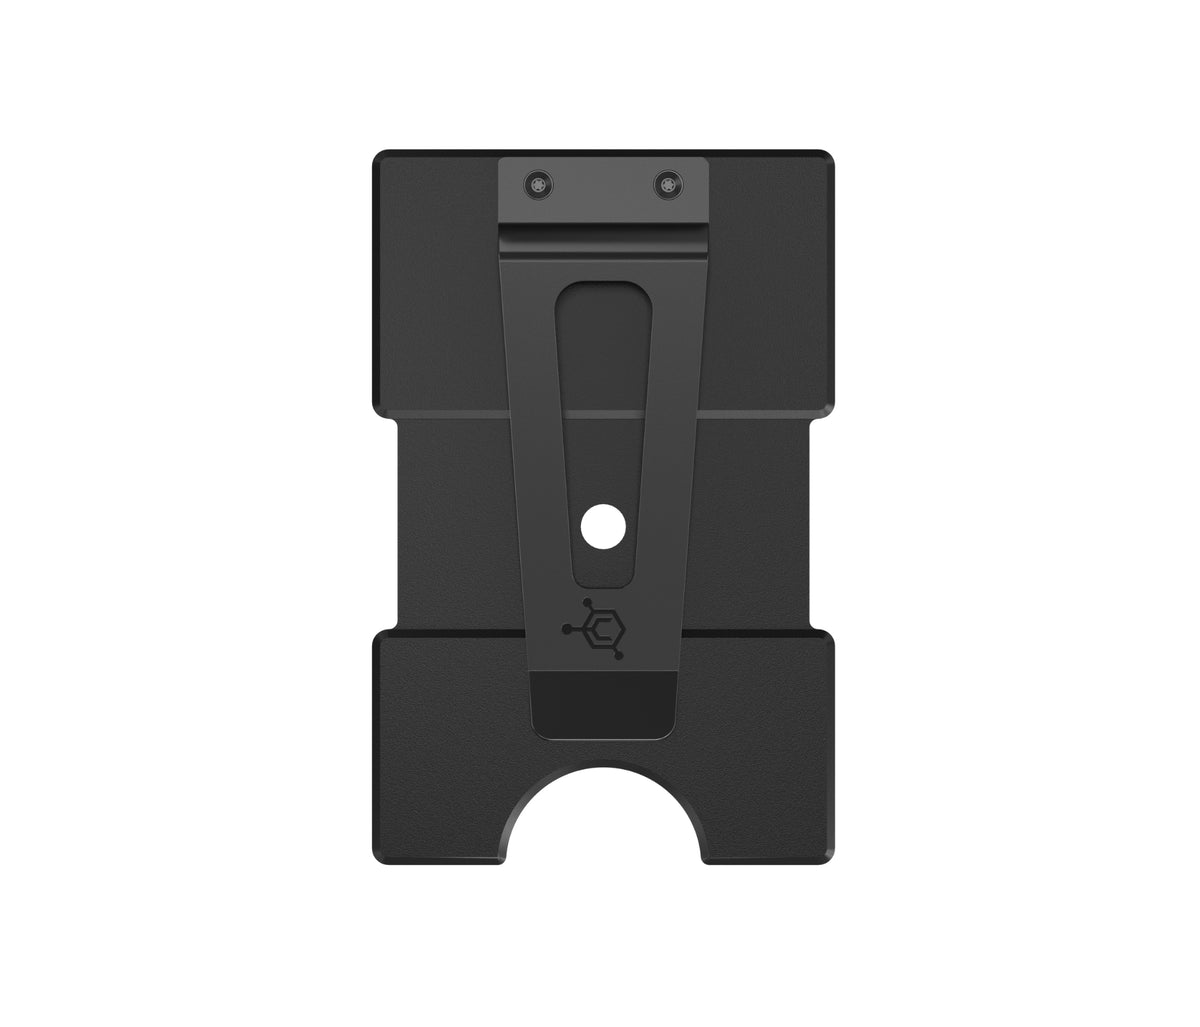
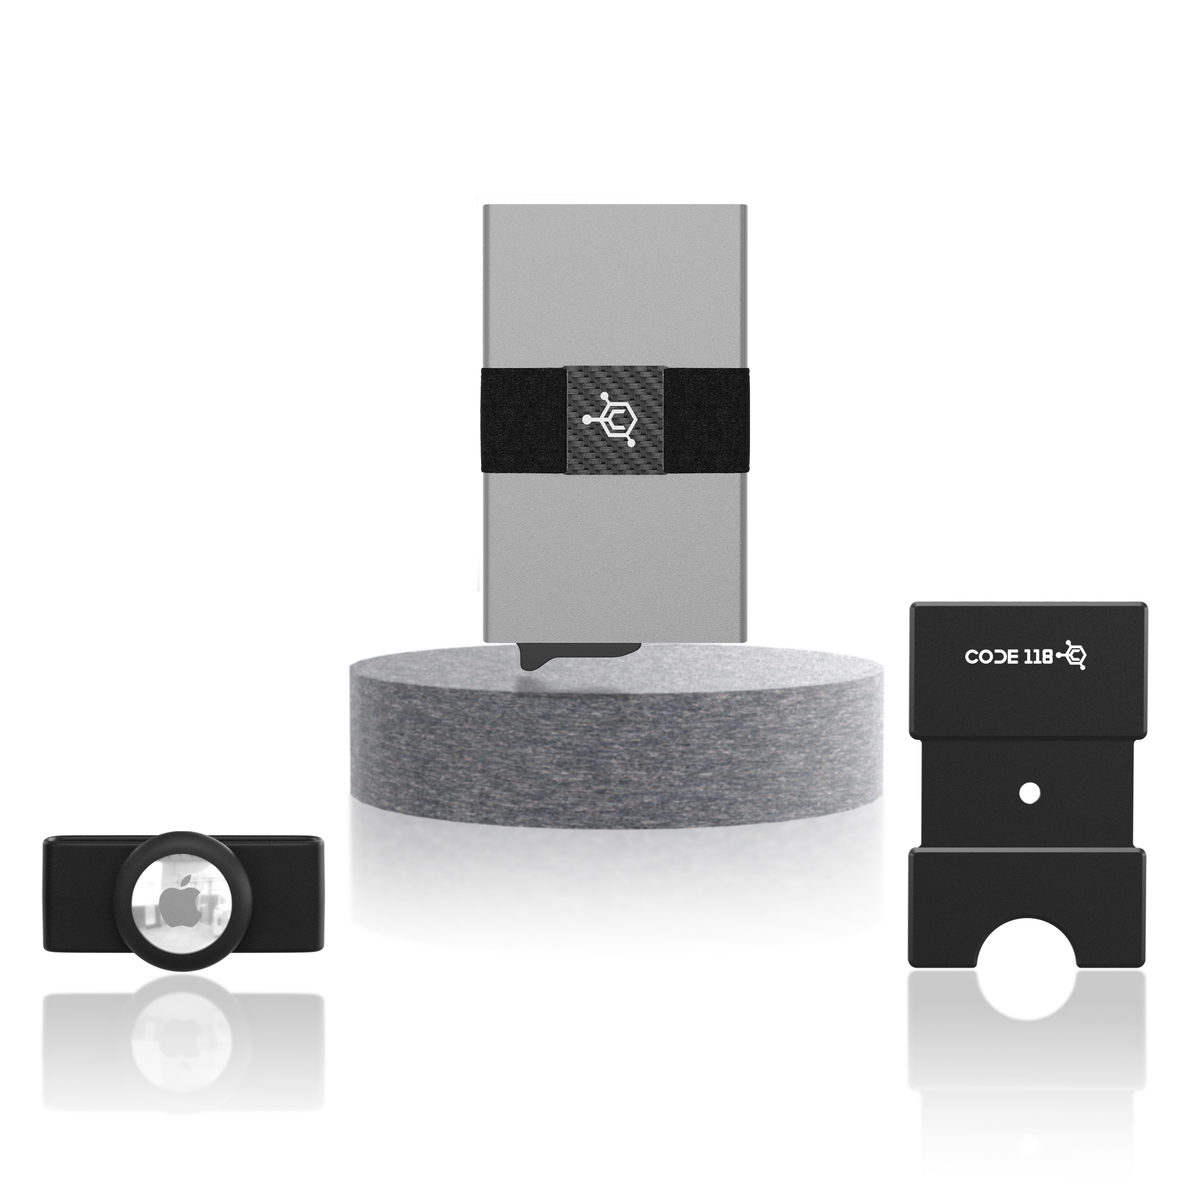
MODULAR BACKPLATE

- Slide the Modular Backplate under the cash strap, so that it sits perfectly in the cut out groove. (If you are wondering what the hole in the center is for, don't worry — it serves no functionality. It is merely part the manufacturing process.)
- Gather any extra cards, cash, or receipts you may have and slide them under the Modular Backplate. The compression will keep everything secure.
- Use the thumb slot at the bottom to access your cards, and then slide them back in when you're done.
- It is also compatible with the AirTag Strap.
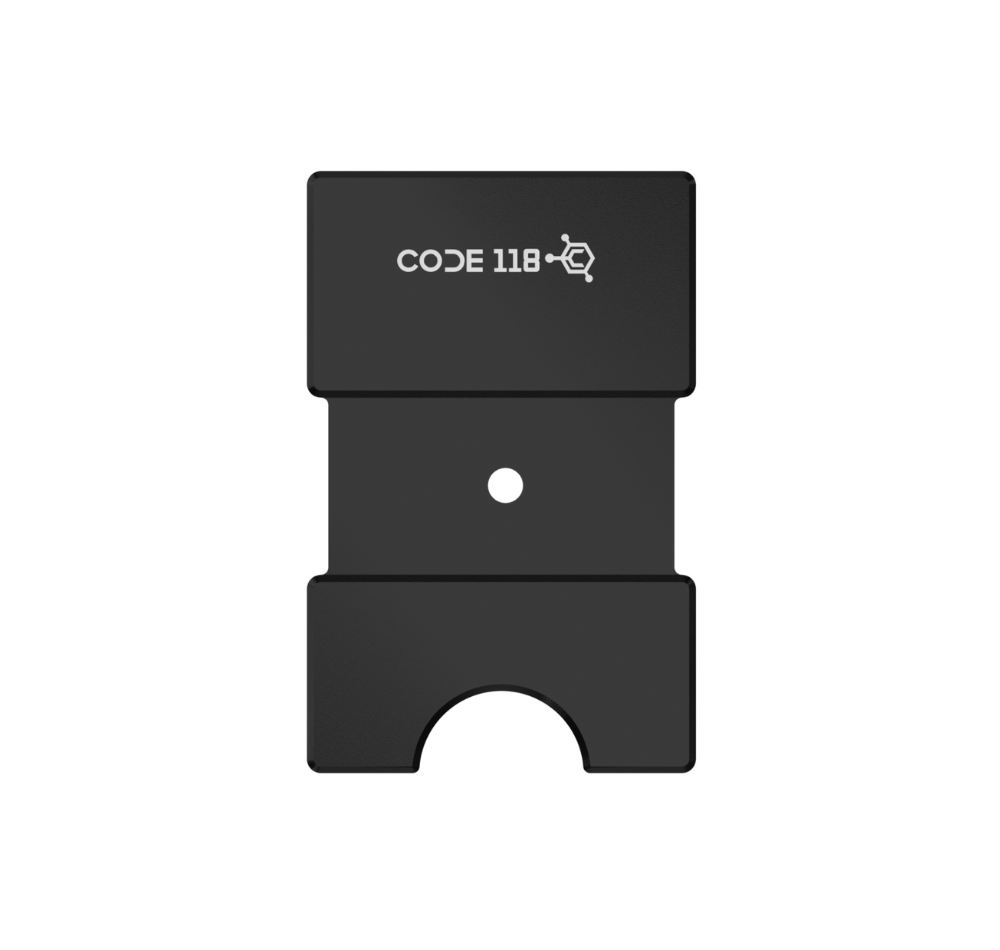
MODULAR BACKPLATE CASH CLIP

- Lift the cash strap and slide the Modular Backplate Cash Clip underneath it, so that it sits perfectly in the cut out groove. (If you are wondering what the hole in the center is for, don't worry — it serves no functionality. It is merely part of the manufacturing process.)
- Gather any extra cards you may have and slide them under the Modular Backplate. The compression will keep everything secure.
- To store cash or receipts, simply tuck up to 20 folded bills into the money clip on the back of the backplate.
- Use the thumb slot at the bottom to access your cards, and then slide them back in when you're done.
- It is also compatible with the AirTag Strap.
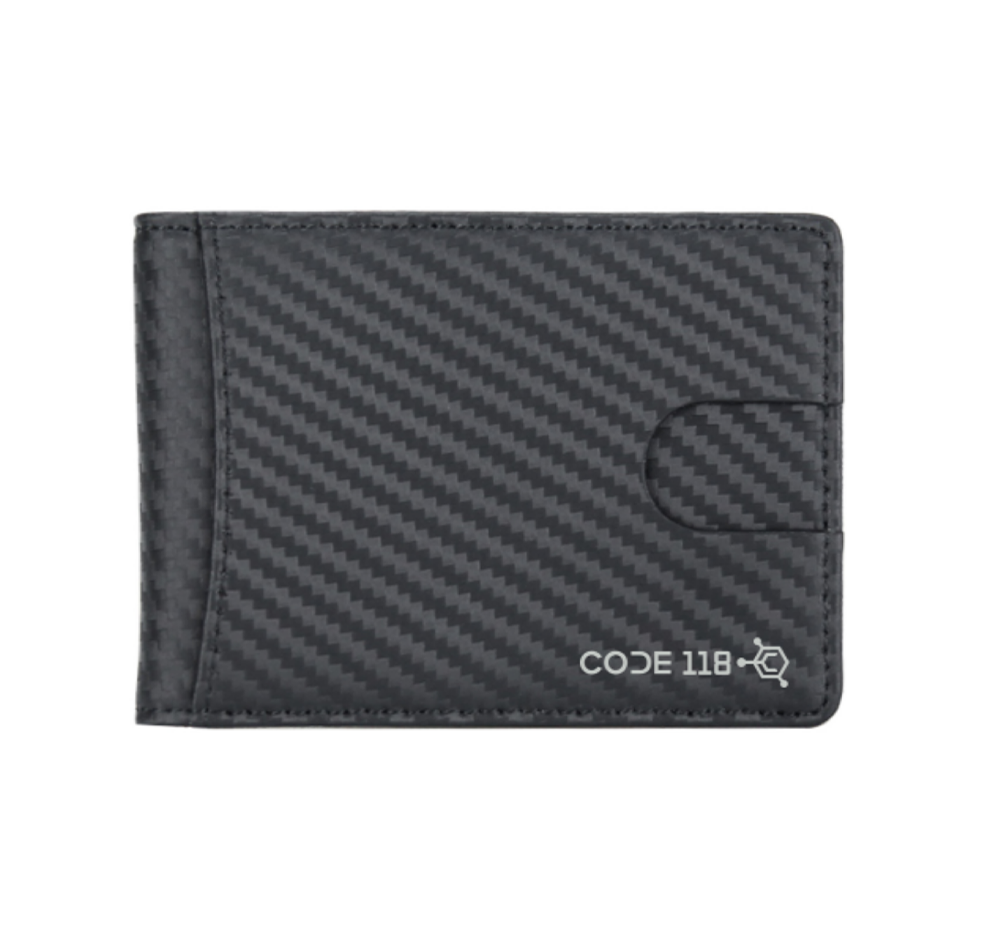
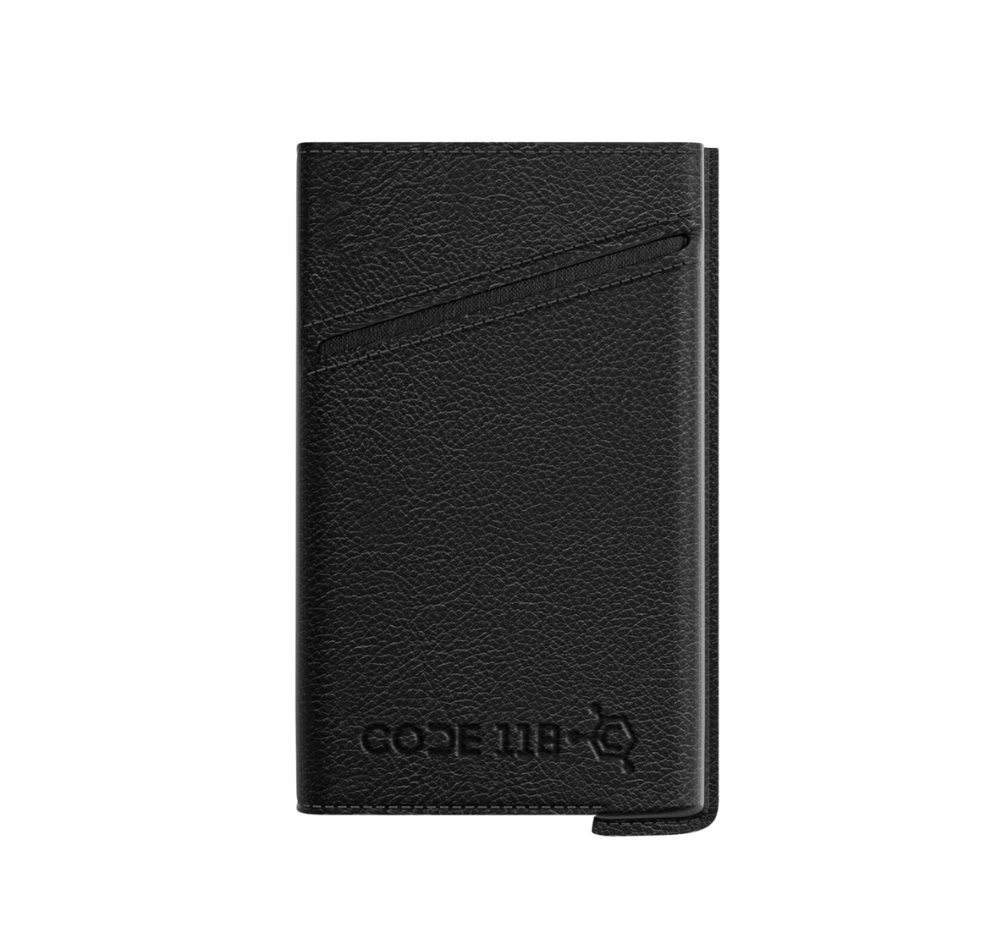
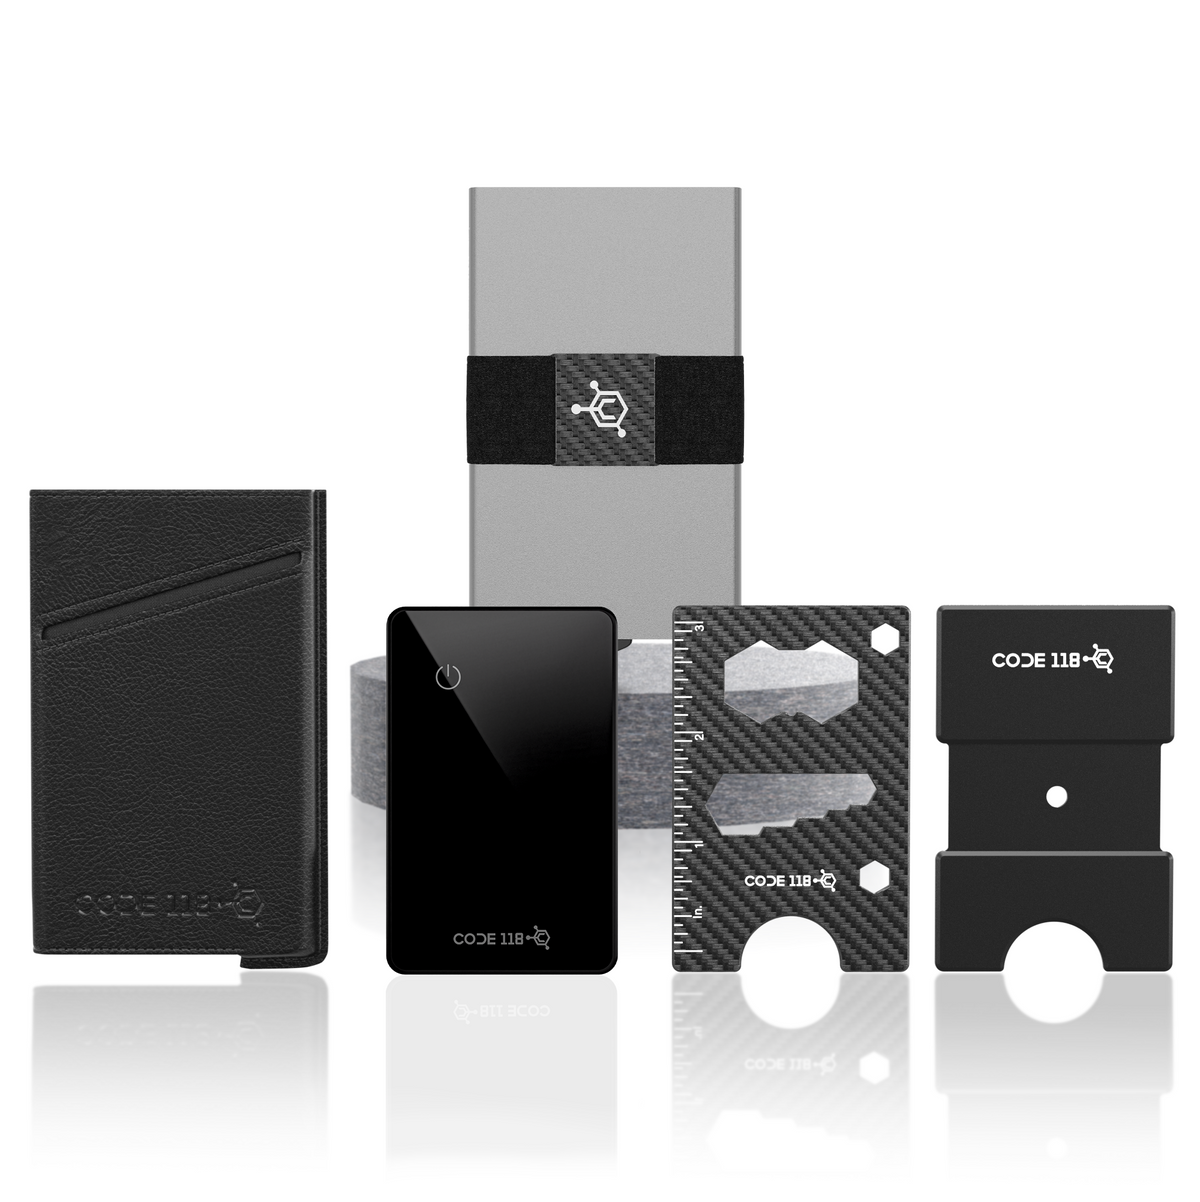
LEATHER CASE

- Remove the Cash Strap from your CODE 118 Wallet.
- Slide your CODE 118 Wallet into the leather case (with the trigger facing the left side), and push it all the way down.
- Insert up to 2 additional cards in each of the outer slots (4 cards total), or fold up some cash.
- You can also put the Cash Strap or AirTag strap over the leather case for additional storage and functionality.
BI-FOLD LEATHER CASE

- Remove the Cash Strap from your CODE 118 Wallet.
- Slide your CODE 118 Wallet into the leather case (with the trigger facing the left side), and push it all the way down. (Pro Tip: Press the case firmly upside down on a flat surface to make sure it slides in all the way.)
- On the opposite side of the bi-fold flap, you'll find a secret compartment on the innermost part of the case, located beneath where the CODE 118 Wallet sits. Use this to store an emergency $100 bill, extra cards, a condom, or pictures of your loved ones. It's also the perfect place to store our tracker card to keep it hidden.
- Open the bi-fold flap to access the additional card slots, as well as 1 on the back side of the case. Insert up to 3 cards in each of the slots, or fold up some cash.
- For even more storage, the case can hold up to 19 cards total across all compartments.
- Any extra cash you have can also be store in the integrated cash strap.
MAG POUCH

- The Mag Pouch is designed to attach directly to your CODE 118 Wallet or CODE 118 Wallet for MagSafe, adding extra storage for cash and up to three additional cards.
- To install, remove the thin protective film covering the adhesive on the back of the Mag Pouch.
- Carefully align the Mag Pouch evenly on the back of your wallet, then press it firmly into place to secure it. (Pro Tip: Apply firm, even pressure across the entire surface for the best hold.)
- If using with our CODE 118 Wallet for MagSafe, attach the Mag Pouch to the front side of the wallet, not the magnetic side.
- The expandable design allows you to carry folded cash and extra cards while maintaining a slim profile.
- For even more storage, the Mag Pouch can be combined with the Modular Backplate or Modular Backplate Cash Clip to increase your total carry capacity.
- The adhesive is reusable. If it ever loses its grip, simply rinse it with water, let it dry completely, and it will return to like-new strength.
STASH TRAY

- The Stash Tray is designed to work with the CODE 118 modular system and cannot be inserted directly into the wallet itself. It is intended to be used with the Modular Backplate, Mag Pouch, or Leather Case.
- Slide the Stash Tray into your chosen accessory and push it all the way in until it sits flush and secure. (Pro Tip: Press it firmly on a flat surface to ensure it is fully seated.)
- Use the tray to store small essentials such as coins, folded cash, keys, or personal items you want to keep hidden and secure.
- Once inserted, attach your modular accessory back onto your CODE 118 Wallet if applicable. The tray integrates seamlessly while maintaining a slim profile.
- For best results, avoid overfilling the tray so it remains compact and easy to carry.
Warning: Do NOT insert the Stash Tray directly into the CODE 118 wallet's automatic chamber.
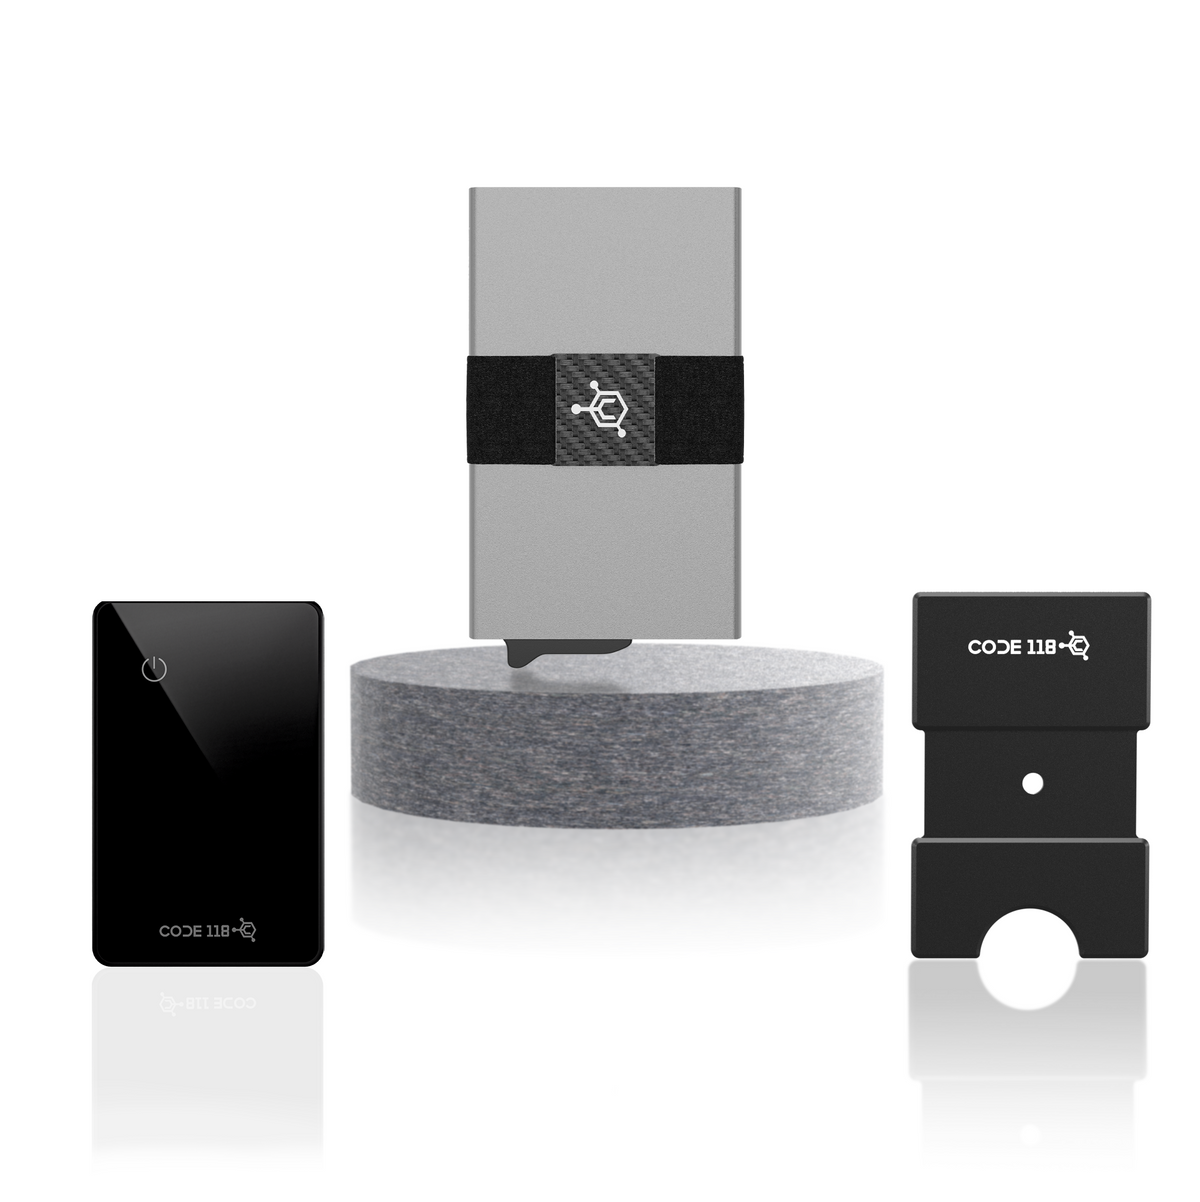
MULTI-TOOL CARD
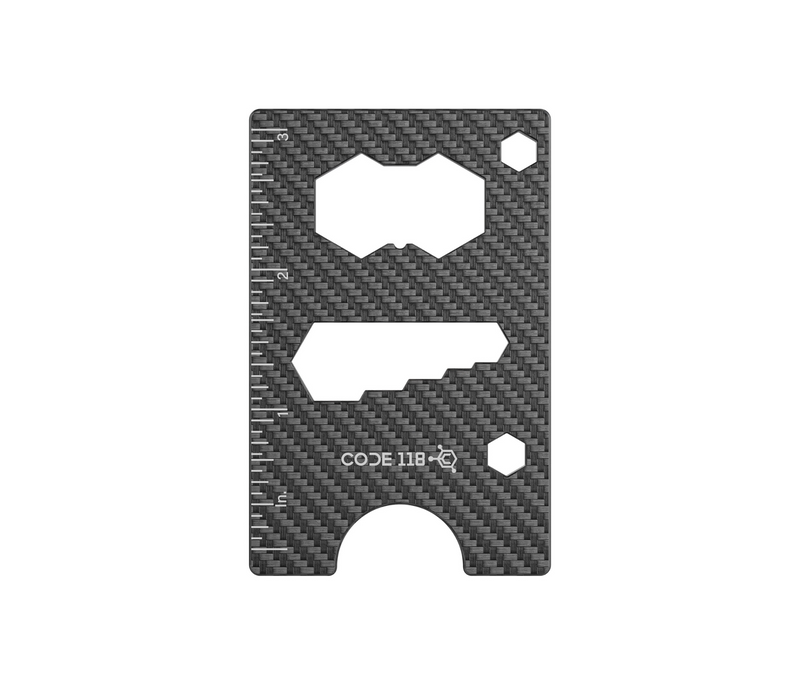
- Features a ruler (in and cm), 9 wrench sizes, and a bottle opener.
- Store your Multi-Tool Card anywhere you'd like. It fits in the Cash Strap, AirTag Strap, Modular Backplate, Leather Case, or mag pouch.
Warning: Do NOT insert the multi-tool card directly into the CODE 118 wallet's automatic chamber.
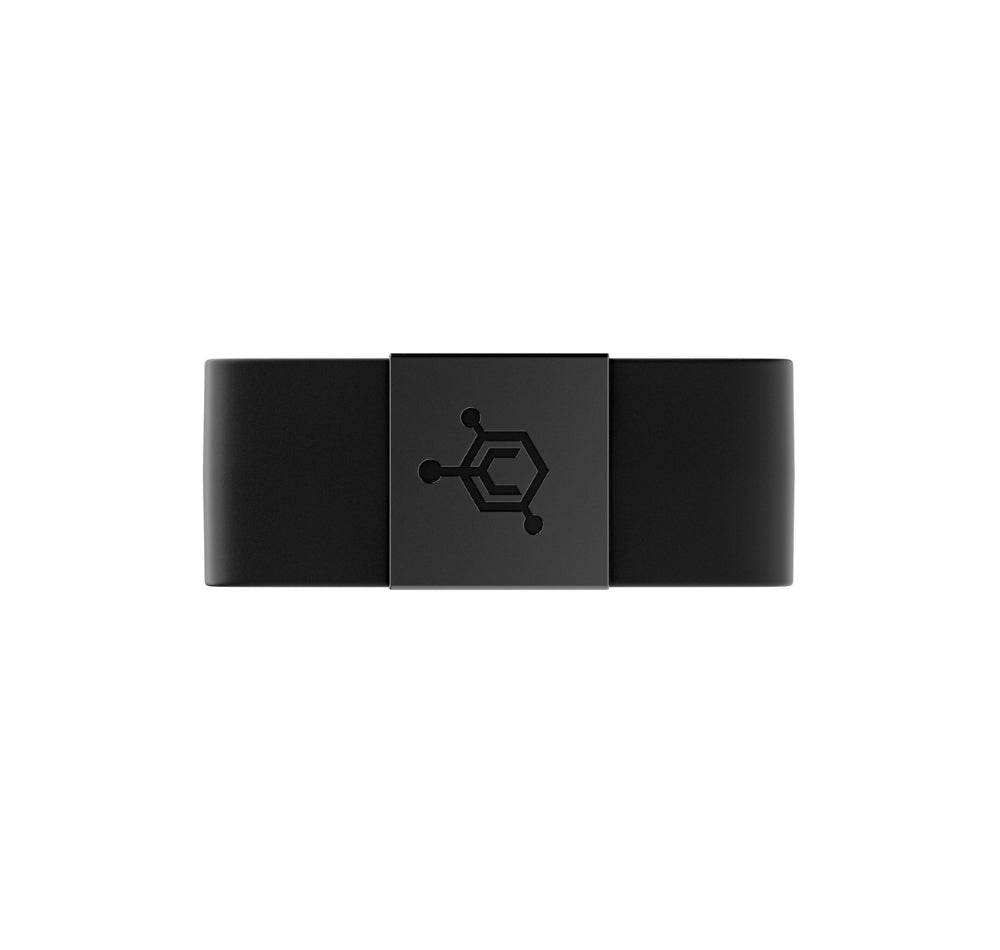
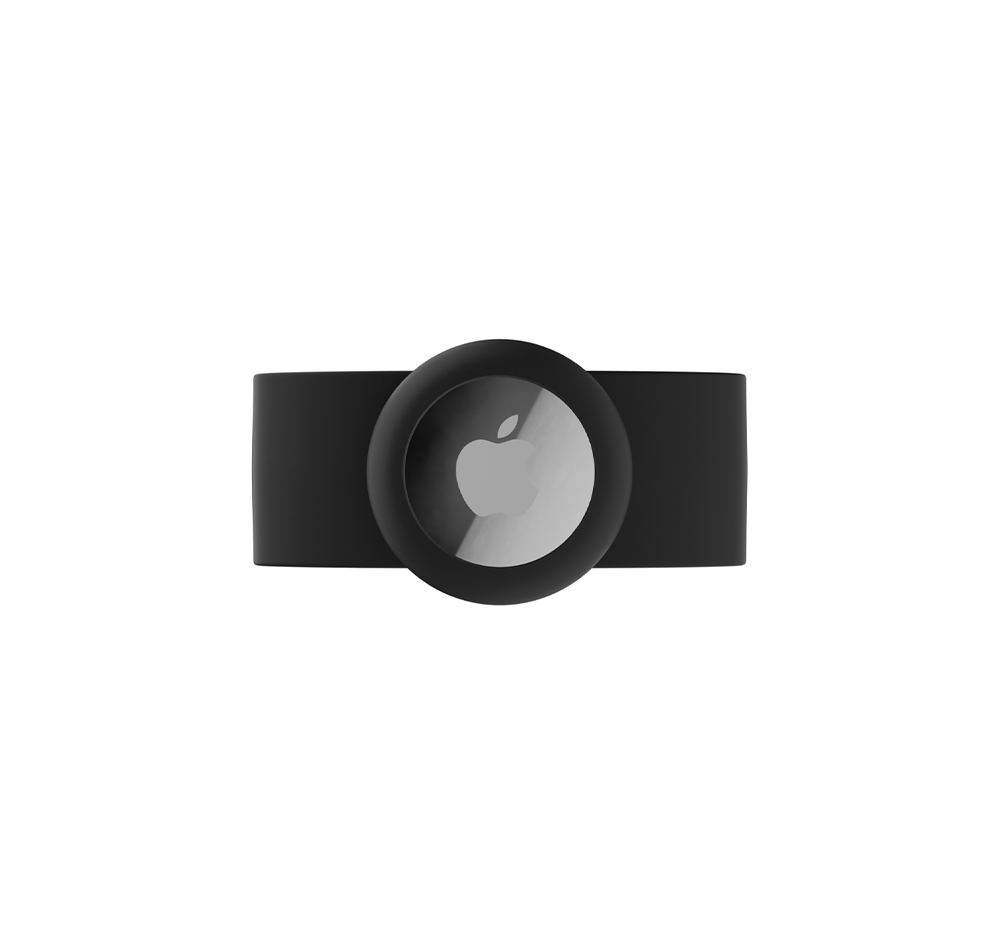
AIRTAG STRAP
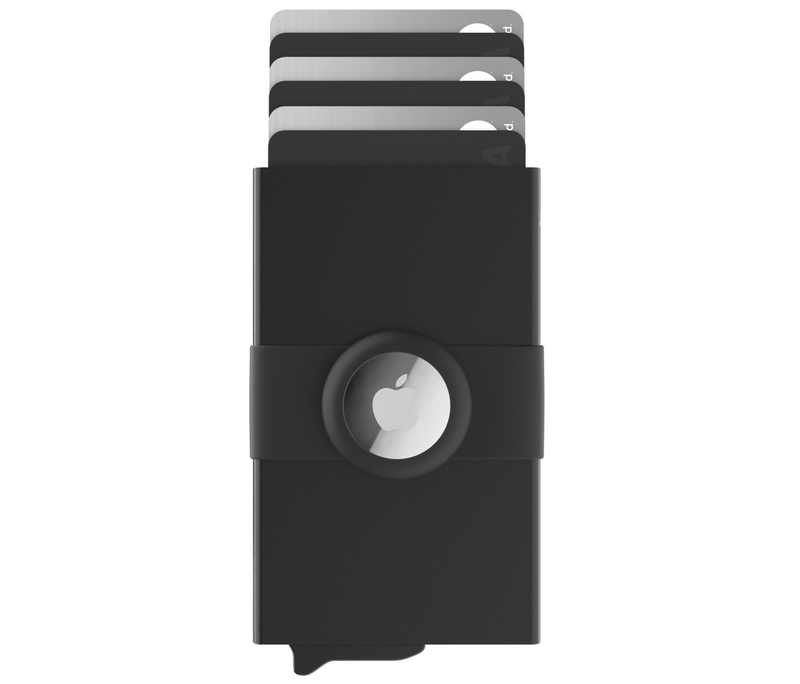
- Remove the Cash Strap from your CODE 118 Wallet.
- Carefully slide the AirTag Strap onto your CODE 118 Wallet.
- Insert your Apple AirTag. You can also store cash underneath it.
- It is also compatible with the Modular Backplate and Leather case.
Tech & Travel
Travel Bag Vacuum Kit

- Open the vacuum bag by unzipping it, then place your clothing or soft items inside. Do not overfill, as the bag needs room to compress properly.
- Close the bag by zipping it fully shut. Make sure to pull firmly to ensure it is completely closed (if it is even not zipped up by a little it will not be airtight, so this is essential).
- Insert both included nozzle attachments onto the tip of the vacuum pump. Lift the flap on the bag to access the air valve, then insert the nozzle into the valve opening.
- Turn on the vacuum pump by clicking the button once. While suctioning, press firmly down on the valve area to create a tight seal. This will not block airflow and actually helps remove air more efficiently.
- Continue vacuuming until the bag is fully compressed and all excess air has been removed.
- Once finished, remove the pump and close the valve flap to keep the bag compressed during travel.
- To reuse, unzip the bag, remove your items, and repeat the process as needed.
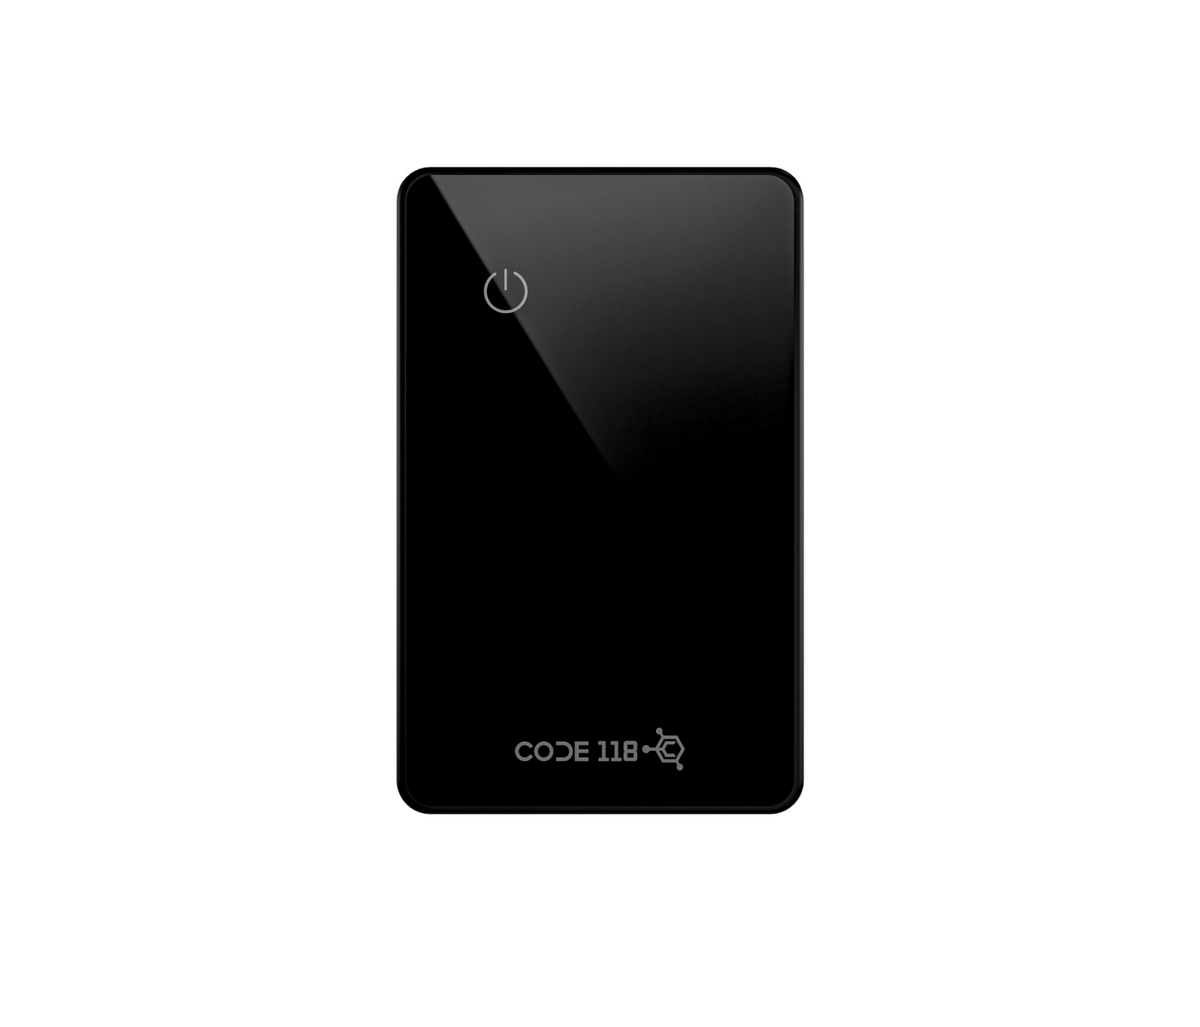
5-in-1 Magnetic Power Bank

- Press the side button once to turn on the power bank before using any wireless or Apple Watch charging features.
- To use magnetic charging, snap the power bank onto the back of your iPhone and ensure it is properly aligned, then press the side button to begin charging.
- To use it as a wireless charging pad, place your device flat on the front surface of the power bank and press the side button to start charging (if the device is not centered or even slightly off, it may not charge properly, so alignment is essential).
- To use the built-in cables, pull out either the Lightning cable or the USB-C cable and plug it directly into your device to begin charging.
- To charge devices using the USB-C output port, plug your own cable into the port and connect it to your device (this allows you to use the power bank like a portable wall outlet for devices such as laptops, phones, or tablets).
- To charge your Apple Watch, place it onto the center magnetic charger and press the side button to activate charging (make sure it is properly aligned or it will not charge).
- To use the kickstand, pull it out from the back of the power bank and position your phone while it is magnetically attached for hands-free viewing.